Connecting a Raspberry Pi 5 to a USB TTY cable is a common way to interact with it through a serial connection, especially for debugging or setting up the device without using a display.
Prerequists
- Raspberry Pi 5.
- USB TTY (serial) cable.
- Computer with a terminal emulator (minicom/screen).
- GPIO pinout diagram of Raspberry Pi 5 (for reference).
- Power source for Raspberry Pi (optional if USB TTY can power it, though not recommended).
Before Starting!
Issuse with firmware
UART does NOT work on the RPI5 from the factory. We will need a firmware update to fix this that prevents the dtoverlays for UARTs from working.
Install rpi-update with the following commands:
> sudo curl -L --output /usr/bin/rpi-update https://raw.githubusercontent.com/Hexxeh/rpi-update/master/rpi-update && sudo chmod +x /usr/bin/rpi-updateThen update the firmware on your RPI5 with:
> sudo rpi-update
Enable UART
To manually configure UART, you can edit the config.txt file.
Edit /boot/firmware/config.txt and add:
> enable_uart=1
How to Connect
- Locate the GPIO Pins
- Find the GPIO header on the Raspberry Pi 5.
- Identify the following pins:

GND (Ground): Usually black wire on the USB TTY cable. TX (Transmit): Sends data from the Pi to the computer. RX (Receive): Receives data from the computer to the Pi.
Use a GPIO pinout chart to locate these pins. For Raspberry Pi 5, it will likely be similar to previous models.

Making connections
You will need to connect:
- GND with Ground - Pin# 06
- TX with GPIO14 - Pin# 08
- RX with GPIO15 - Pin# 10

Plug the USB TTY Cable into the Computer
- Insert the USB end of the TTY cable into your computer.
- The cable will create a virtual COM port (e.g /dev/ttyUSB0).
Configure and Access Serial Console
Open a terminal.
Identify the port with:
> ls /dev/ttyUSB*Use a terminal emulator like screen or minicom to connect:
> screen /dev/ttyUSB0 115200
*Replace /dev/ttyUSB0 with the actual port name.
- Turn on the Raspberry Pi.
- If everything is set up correctly, you should see boot messages in the terminal.
- Log in to the Pi using the default username (pi) and password (raspberry), or your custom credentials.
You should see something similar to this.
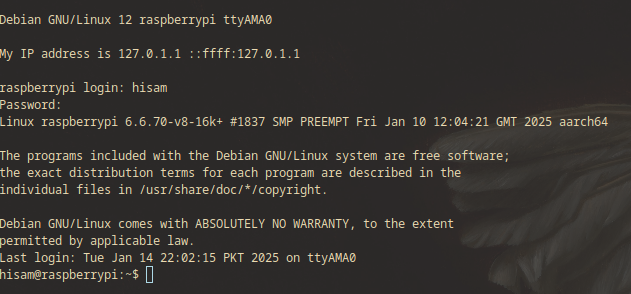
This is it! You have done it. Congrats!