1. Introduction#
Sometimes you need to share a local application with the outside world, maybe to demo your project, test a webhook, or allow a teammate to access your development server.
Normally, you’d need a public IP, port forwarding, or a cloud server. ngrok removes all that complexity by creating a secure tunnel from the internet directly to your machine, giving you a public URL instantly.
2. Prerequisites#
Before we begin, make sure you have:
- A terminal
- A free ngrok account (for authentication token)
- A running local service (e.g., a Python HTTP server, web app, or API)
3. Installing ngrok on Linux#
We’ll cover installation for Arch Linux, Debian/Ubuntu, and Fedora.
3.1 Arch Linux#
This package is not in the official repos, install it from the AUR:
yay -S ngrok
3.2 Debian / Ubuntu#
sudo apt update
sudo apt install snapd
sudo snap install ngrok
Alternatively, download the binary from the ngrok downloads page.
3.3 Fedora#
sudo dnf install snapd
sudo ln -s /var/lib/snapd/snap /snap
sudo snap install ngrok
4. Authenticating ngrok#
Once installed, you need to connect it to your account so you can use custom domains, longer session times, and access the dashboard.
- Sign in to ngrok dashboard. -> Your AuthToken
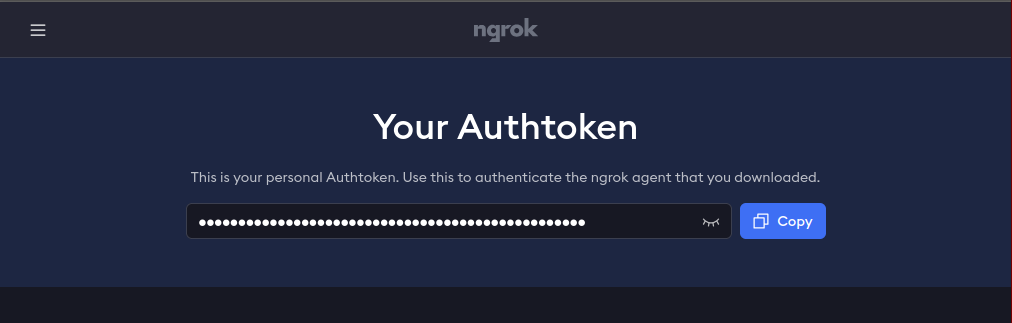
- Copy your AuthToken.
- Run:You will see: Authtoken saved to configuration file: ~/.config/ngrok/ngrok.yml
ngrok config add-authtoken <YOUR_TOKEN>
5. Exposing a Local Service#
For example, if your local web server is running on port 8080:
ngrok http 8080
You’ll see output like:
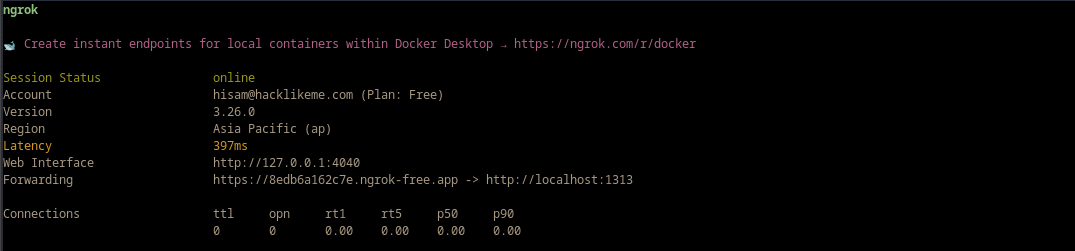
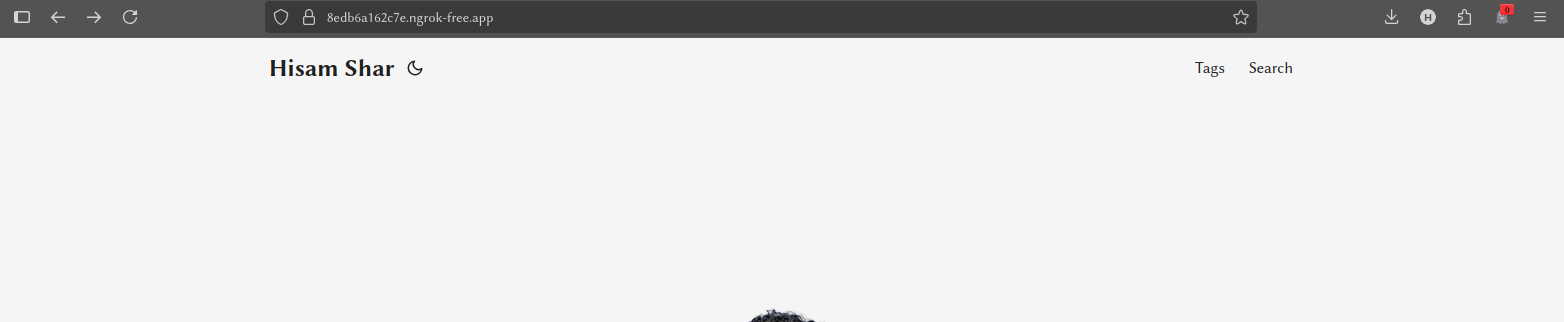
Now you can share the HTTPS URL with anyone. It wil be similar to: https://random.string.ngrok-free.app
6. Adding Basic Security#
You can protect your tunnel with a simple username and password:
ngrok http --basic-auth="user:password" 8080
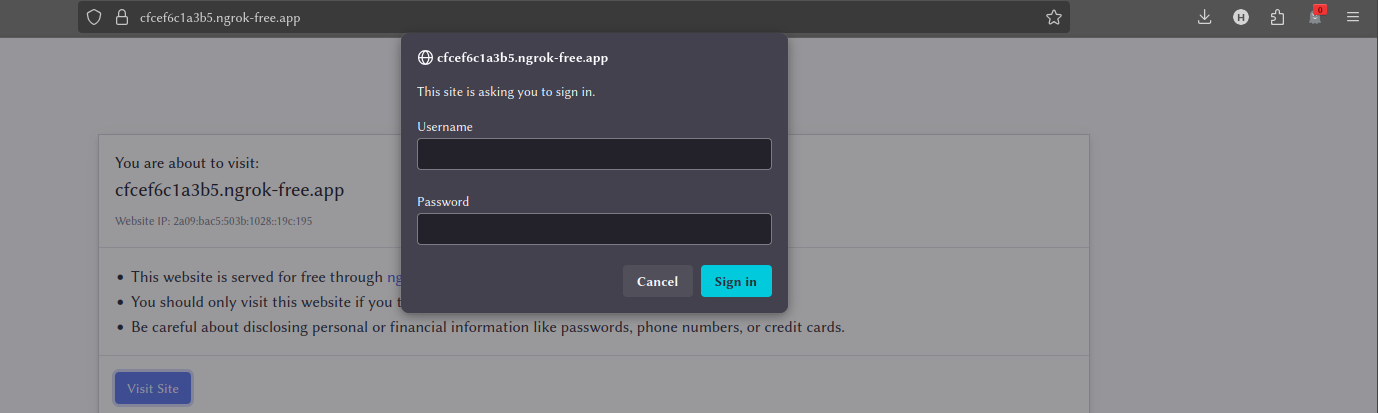
Anyone visiting the public link will need credentials.
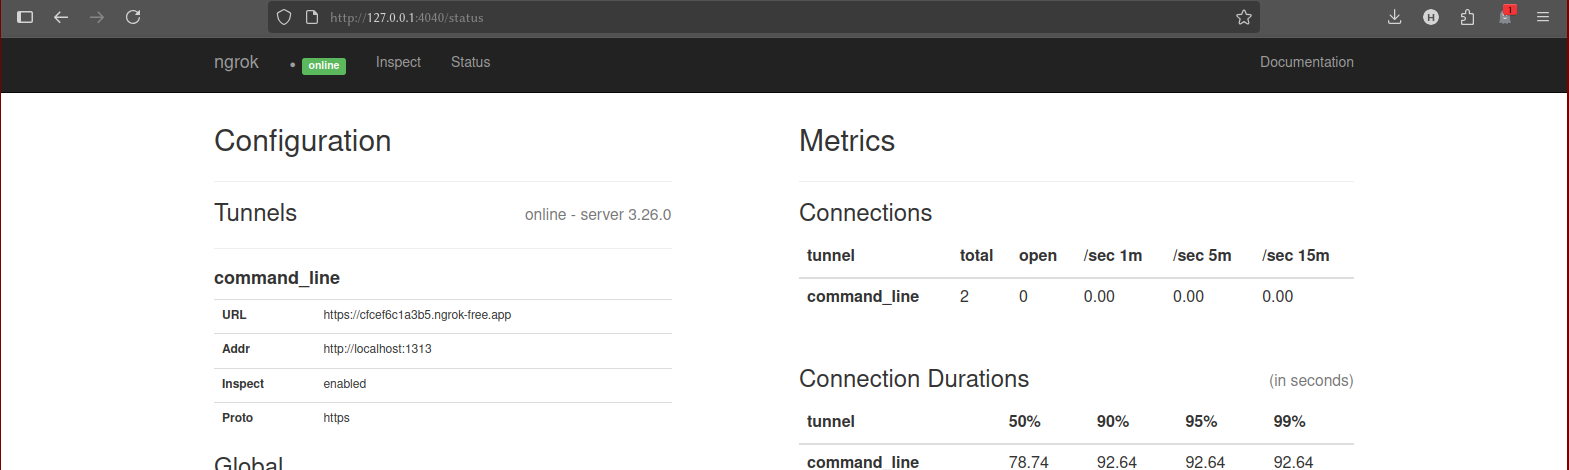
7. The Inspector#
One of ngrok’s most powerful features is its built-in web interface, accessible at http://127.0.0.1:4040. This interface lets you inspect every single request that comes through your tunnel in real-time. You can see headers, request bodies, and response details, and even replay requests with a single click—an absolute lifesaver for debugging webhooks.
8. Common Use Cases#
- Webhook testing — Connect services like GitHub, Stripe, or Twilio to your local environment.
- Temporary demos — Share work-in-progress with clients without deployment.
- Remote device access — SSH into a Raspberry Pi without changing router settings.
9. Conclusion#
In just a few commands, you’ve learned how to:
- Install ngrok on popular Linux distros
- Authenticate your installation
- Share a local service securely
From here, you can explore ngrok’s advanced features like static domains, IP allowlists, and traffic inspection.